It's technique time again. This time I'll be reviewing how to mask with stamps!
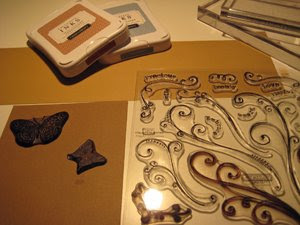
2. Stamp the design you want to mask on the spare cardstock. Don’t worry about the image being perfectly stamped – it’s going to serve as your mask.
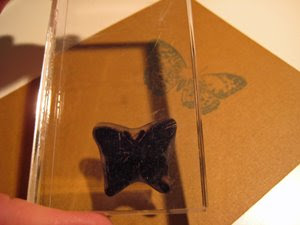
3. Cut out your mask(s) using your micro-tip scissors. Be precise!
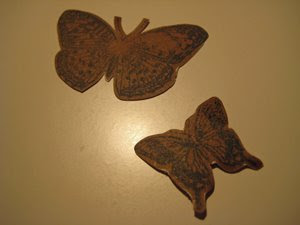
4. Adhere your masks to your cardstock with the repositionable adhesive. Proceed to stamp your background image over your mask(s).
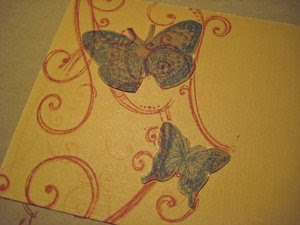
5. Remove your masks carefully and then stamp the same image you used to create your mask in the negative space left by the mask.
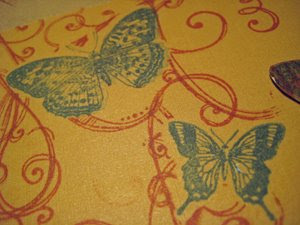
6. Now you’ve got a masked image over a background stamp without the two overlapping!
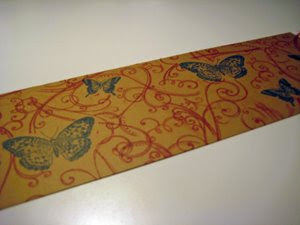
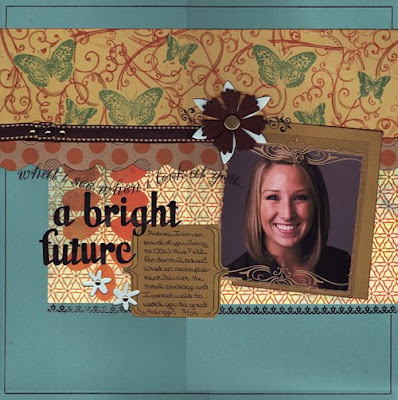
7. Use your stamped design on a project!

2 comments:
Love your tutorial Megan! I love how perfect that turned out on your gorgeous page!
Hugs,
Karen
Beautiful layout. I like your little tutorial on how you put it all together!
Post a Comment