It’s been awhile since I’ve had the chance to share a technique with you all, and I am super pumped that I get debut the Birds Of A Feather July kit today along with my technique. Seriously, this kit is so fun. It just screams summer! If you haven’t seen it yet, be sure to check it out and the coordinating extras too. Yours truly once again had to snatch them all up!
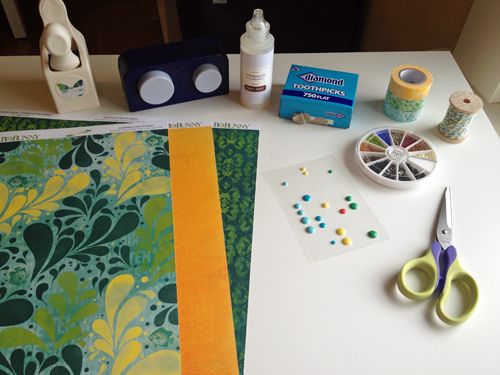
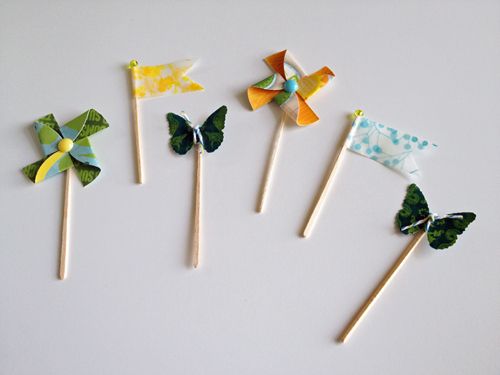
So today, I am actually going to share with you three different cute embellishments you can make using your kit, some extras and a standard kitchen supply – toothpicks! Let’s get started. First thing is to gather all your supplies – papers, a circle punch, a decorative punch, Liquid Glass or Diamond Glaze, washi tape, twine, self-adhesive jewels, beads (from your stash) and, of course, toothpicks.
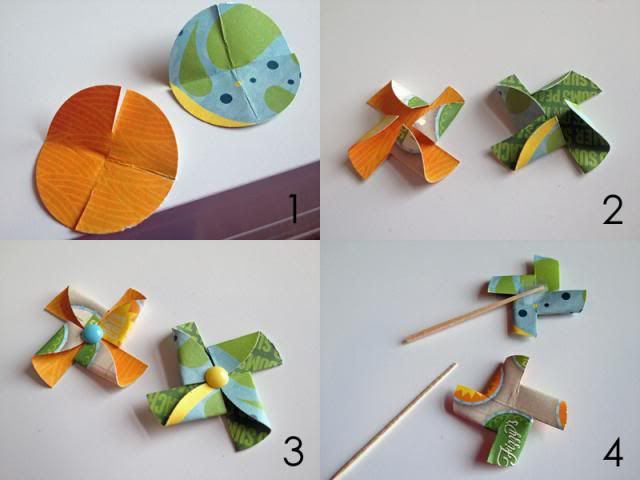
The first toothpick embellishment we are going to create is a pinwheel.
- Punch a circle from the paper of your choice, fold it into fourths to create creases, unfold, then carefully cut a slit along each crease about halfway to the center of the circle.
- Place a glue dot or similar double-sided adhesive to the center of the circle, then take each alternating corner of the quarter circles and fold in towards the center of the circle. The corners should all meet in the middle and be adhered to the glue dot.
- Add a jewel to the center of the pinwheel. (NOTE: At the time I created this tutorial, the lovely Bo Bunny jewels from my kit were MIA so I subbed my leftover enamel dots from the April kit. The buttons in the July kit would also work well if you choose to create larger pinwheels.)
- Adhere a toothpick to the back of the pinwheel using a glue dot (or similar adhesive) and a small piece of Scotch tape.
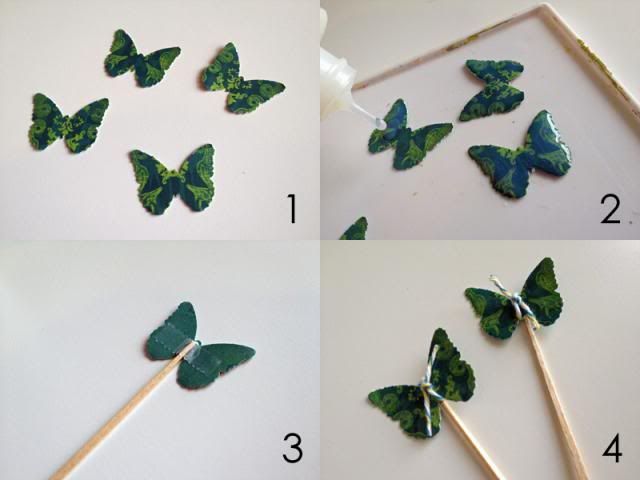
The next toothpick embellishment we are going to make is a lollipop embellishment.
- Punch any shape of your choice from your preferred paper.
- Cover the shape completely with Liquid Glass, Diamond Glaze or similar product. Allow them to dry for several hours.
- Adhere a toothpick to the back of the pinwheel using a glue dot (or similar adhesive) and a small piece of Scotch tape.
- If desired, embellish further with a piece of twine. The twine could also be tied in a bow around the toothpick at the base of the shape.
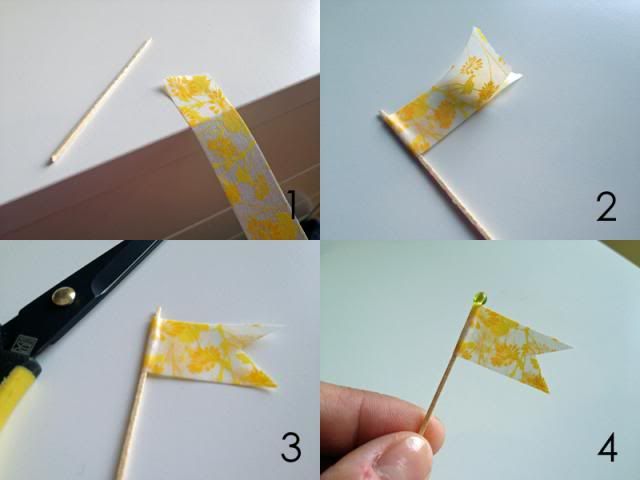
The last toothpick embellishment we are making today is a flag.
- Grab a toothpick and tear off about 3” of washi tape.
- Wrap the washi tape around the toothpick adhering the two ends together, leaving a small bit of toothpick above the washi. Be careful to keep the edges of the washi tape in line so you don’t end up with a crooked flag.
- Cut a pennant shape at the end of the washi.
- Add a small dab of glue on the tip of the toothpick above the washi and top off with a bead. Allow it to dry.
And when you're finished, you have some cute homemade embellishments – all from your scrappy supplies and plain, old toothpicks.
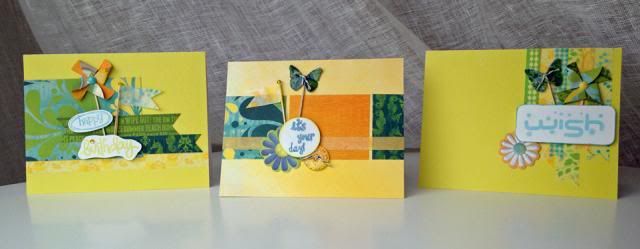
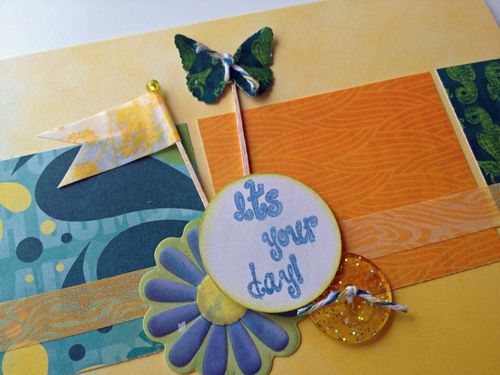
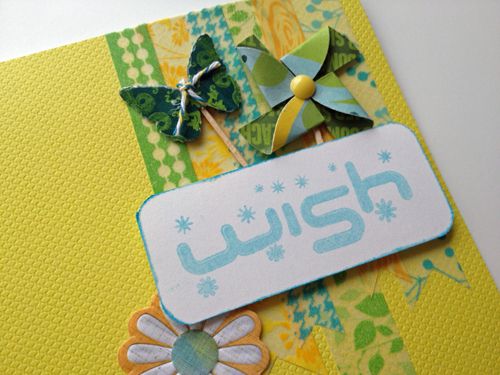
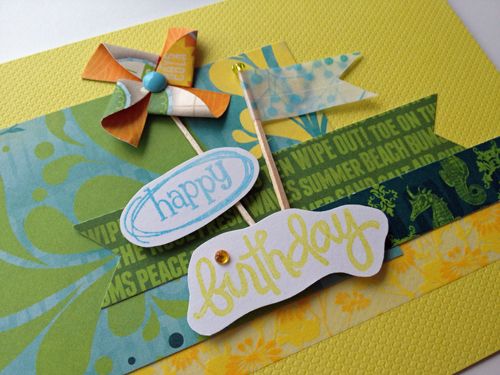
And I used them and my July kit to stock up on my supply of birthday cards!
Hope you enjoyed today's technique! Let me know if you have any questions and I'm excited to see what you all create with your July kits!

No comments:
Post a Comment